Dash Cam Mount Compatibility: Garmin Dash Cam X310 Guide
By The Gear Audit Team · Manufacturer documentation checked September 27, 2026.
Quick answer: identify the whole mount, not just its magnet
The Garmin Dash Cam X310 uses a magnetic mount, but that does not mean every Garmin or third-party magnetic piece is interchangeable. The standard kit has a low-profile magnetic adhesive mount; Garmin also explicitly lists the X310 for its Universal Suction Cup Mount with the 8.55 mm straight ball. Choose the adhesive route for a planned long-term location or Garmin’s documented suction accessory when removability matters. Verify the exact camera, mount hardware, windshield clearance and power path before ordering.
What Garmin documents for the X310
| Part of the system | Verified Garmin statement | Buying consequence |
|---|---|---|
| Camera | X310, US part 010-02860-00; 7.00 × 4.22 × 1.95 cm and 78 g in the comparison specifications. | Keep the exact camera identifier in an accessory search; allow space around its body and cable. |
| Original windshield mount | Garmin lists a low-profile magnetic mount in the X310 kit and describes adhesive windshield installation in the manual. | Ask whether a listing is an adhesive pad, complete mount, ball joint or a whole camera bundle. |
| Removable suction option | Garmin’s Universal Suction Cup Mount compatibility page explicitly includes X310 under the 8.55 mm straight ball. | Check that the mount kit includes the correct ball and fasteners; do not substitute the 11 mm ball used for Dash Cam Live. |
| Camera power | Garmin’s X310 manual specifies 4.75–5.25 V DC, 1 A at the camera. | Use Garmin-documented power equipment and cable routing; this is not a vehicle-battery input rating. |
| Optional parked power | The manual describes the separately purchased Garmin Constant Power Cable connected to a vehicle OBD II port. | Read vehicle and accessory installation conditions rather than treating parked recording as included with the mount. |
The X310 product name and US part number distinguish it from similar-looking X110 and X210 cameras. A retailer photo of a magnetic disc alone cannot establish ball diameter, power clearance or compatibility with the camera housing. Garmin’s accessory support page is a stronger basis for the specific suction option than a generic “fits Garmin dash cams” listing.
Original adhesive mount: plan the location before peeling
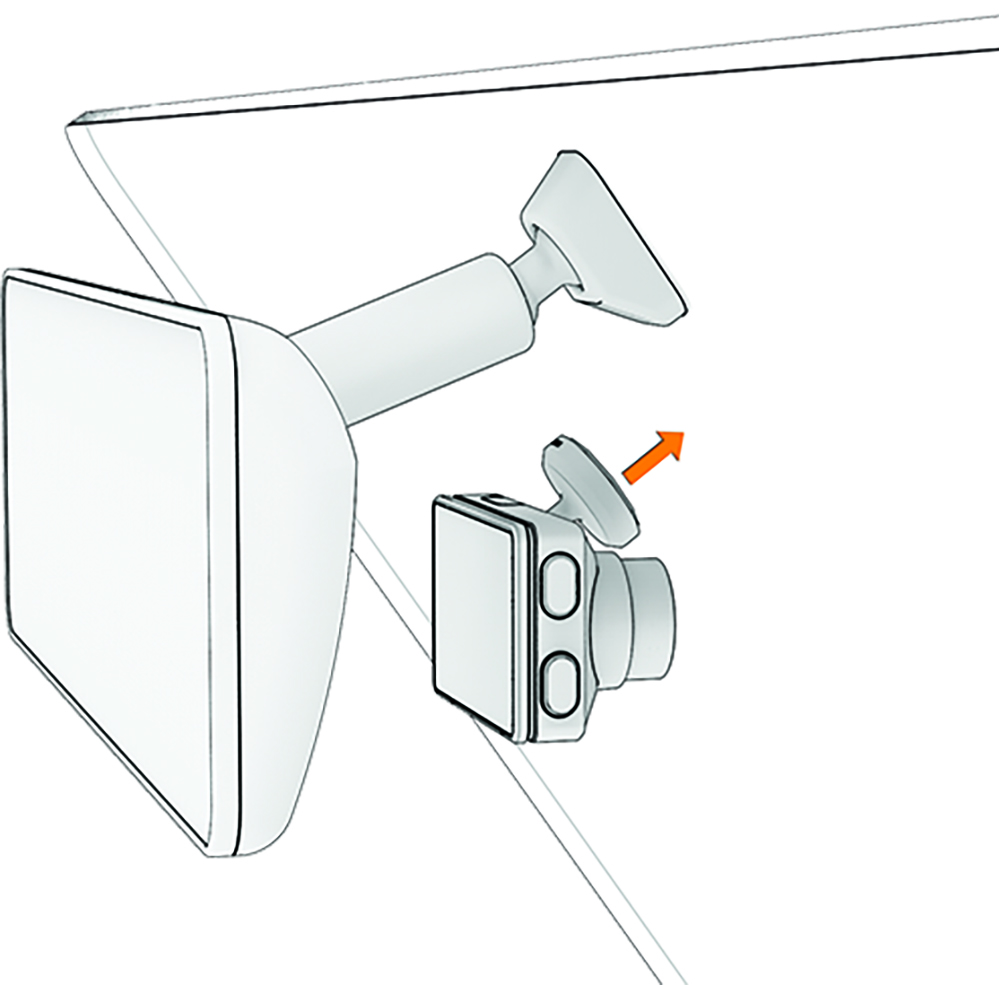
Best for: A long-term windshield position that satisfies the camera manual and your vehicle’s visibility requirements.
Garmin calls the adhesive installation long term and warns that the mount can be difficult to remove. Its X310 manual says to consider the position before application, clean the windshield, confirm a clear view and press the mount for 30 seconds. It gives an ambient installation range of 21–38°C for best bonding and extra preparation when installing in colder conditions. Follow the complete current manual; these details are not a substitute for it.
Pros
- It is the documented low-profile mount supplied with the X310 camera kit.
- No separate suction cup projects into the cabin from the windshield.
- Garmin provides an explicit installation process for the camera and mount.
Cons and trade-offs
- Repositioning is difficult after bonding, so clearance and view checks must precede installation.
- Adhesion depends on surface preparation and installation conditions.
- A replacement adhesive piece is not automatically a complete camera-side mount.
Choose another if: You frequently move the camera between vehicles, cannot use an adhesive windshield attachment, or need to test a location before committing.
Our recommendation
Use the supplied adhesive system only after a stationary mock-up confirms view, controls, mirror clearance and cable route. Follow the current Garmin and vehicle instructions during final placement.
Garmin Universal Suction Cup Mount: a documented removable route
Best for: Someone who needs a removable Garmin-supported X310 mount and has space for the suction hardware.
Garmin describes its Universal Suction Cup Mount as a removable windshield accessory with changeable ball joints. Its compatibility list puts the X310 on the 8.55 mm straight ball, supplied preinstalled with a hex screw. The kit also lists an angled 8.55 mm ball for other models and an 11 mm straight ball for Dash Cam Live; shared ball diameters in the box do not make every ball the correct X310 configuration. Garmin specifies the suction surface as 44.44 mm. Measure the actual windshield area and check the vehicle guidance before choosing it.
Pros
- Garmin explicitly names the X310 in the compatibility list.
- The mount is designed for removal rather than a permanent adhesive bond.
- The page identifies the exact straight-ball configuration and included hardware.
Cons and trade-offs
- The cup, ball and lever need more physical clearance than a low-profile adhesive installation.
- The removable cup needs a suitable clean windshield area and periodic inspection of its attachment.
- Third-party copies of its appearance remain unverified unless the maker documents X310 support.
Choose another if: You need the lowest-profile installation or your windshield and nearby trim do not leave the required space.
Our recommendation
Use Garmin’s exact compatibility list to identify the accessory. Confirm the complete mount kit and 8.55 mm straight ball on the seller’s offer before checkout.
Treat camera power and parked power as separate decisions
The X310’s low-voltage camera input must not be read as permission to wire it directly to vehicle voltage. Garmin describes powering the camera through its supported cable and adapter path. For parked use, the separately sold Constant Power Cable plugs into a vehicle OBD II port and supplies USB output. Its manual calls for securing the installation away from controls and the driver’s feet and disconnecting it if it affects vehicle operation. Check the exact vehicle and accessory directions first. A mount purchase does not include or prove the parked power setup.
A five-minute stationary fit plan
- Record “Garmin Dash Cam X310” and US part 010-02860-00, then record the exact mount kit or replacement part.
- Hold the uninstalled camera and mount at the proposed position. Check mirror housing, sunshade travel, sensors, driver view and the space to detach the magnetic camera.
- Trace the cable from its camera connection to the intended power source while the vehicle is stationary. Leave space to attach and remove the camera without pulling the plug.
- Confirm whether the offer includes the complete camera-side connector, windshield-side hardware, adhesive or suction cup, and any screws or tool.
- Review applicable local rules, vehicle safety instructions and Garmin’s mounting directions before attaching anything.
Search Amazon US for Garmin X310 mounts
This is a search, not a verified accessory listing or ASIN. Match the exact Garmin accessory and compatible ball configuration rather than ordering from the search title.
X310 mount FAQ
Will a mount for the X210 automatically fit the X310?
Garmin groups both cameras under the 8.55 mm straight ball for its Universal Suction Cup Mount. That establishes this specific accessory configuration, not every adhesive mount or third-party adapter advertised for X210.
Can I attach the camera directly to a vehicle’s 12 V wiring?
No such connection follows from Garmin’s 4.75–5.25 V DC camera input specification. Use a documented compatible power accessory and the vehicle and accessory instructions.
Is the suction cup always safer or more stable?
Garmin documents compatibility and removability; it does not give us a vehicle-specific vibration or retention result. Select by approved placement, clearance and your need to remove the camera.
Research method, primary sources and limits
We checked Garmin’s exact X310 product information, owner manual and Universal Suction Cup Mount compatibility page on September 27, 2026. Size, part numbers, electrical input and compatibility are Garmin statements. The installation decision process and pros and cons are editorial guidance. We did not install a camera, measure adhesion or road vibration, verify a vehicle fit or evaluate recording. Vehicle rules and compatibility vary.
Primary sources: Garmin X310 US product; X310 specifications; adhesive installation; Universal Suction Cup Mount compatibility; camera input and Constant Power Cable. Read our methodology.
Affiliate disclosure
As an Amazon Associate, The Gear Audit earns from qualifying purchases. We may earn an affiliate commission when you buy through our links, at no extra cost to you. Read our full affiliate disclosure.